To add an additional authorized email address for a contact on your account, please follow the instructions below:
1. Start by logging in to your portal account. On the portal home page, you should see a link in the upper right hand corner to login. Click on this link. If you are already logged in, it will display your account name. If you are already logged in, proceed to step 3.
![]()
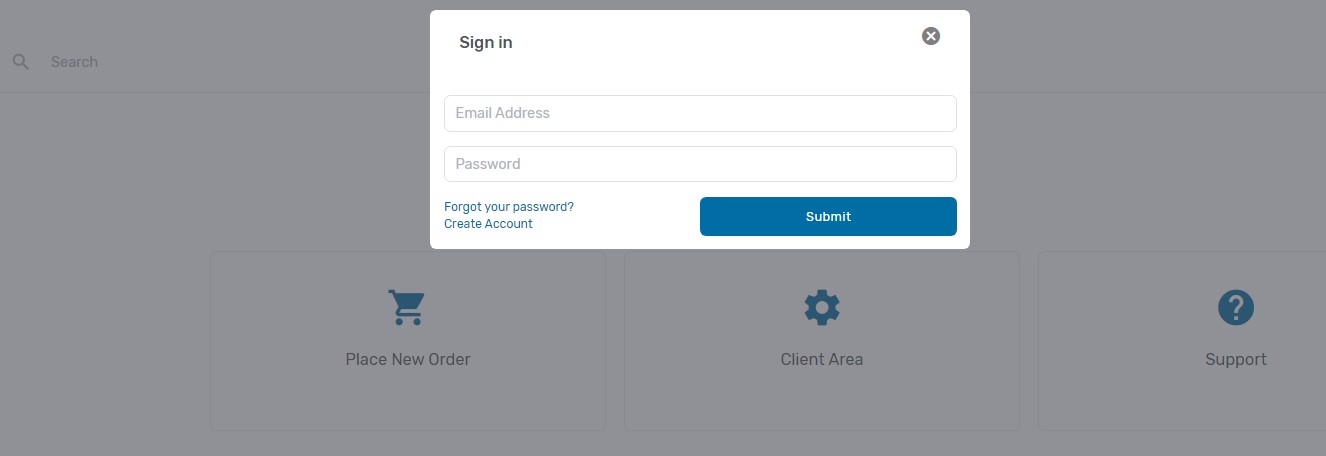
2. After clicking login, a pop-up window will appear asking for you to enter your information to sign in. Please enter your email address and password and click submit. Please note that the email address you use to login needs to be the email address on file for your account. If you do not remember the password for your account, you can use the forgot your password link to have the system send you an email to reset your password.
3. After logging in, you will be taken to the portal dashboard. Along the left side, a menu with different account management options will be shown. Depending on the services established on your account, the exact number of options and what specific options appear may differ slightly from the image below. However, all accounts will have a section titled "Account" with options underneath it for "Edit Details" and "Manage Contacts". If you are looking to add an additional authorized email address to the PRIMARY email address for the account (the account owner), click on the edit details option. If you are looking to add an additional authorized email address for an additional contact on the account (an employee, designated agent, etc), click on the manage contact option. Please note that the additional authorized email address field should NOT be used to provide a different person access to your account. If you attempting to add a new contact to your account, please add them as a NEW CONTACT. The additional authorized email address field is to allow multiple email addresses that belong to a single individual to all be associated with that individual. In many cases, individual contacts have work email addresses and a separate personal gmail, hotmail, etc email address that they might also use. That is the intended prupose of the additional authorized email address field.
![]()
4. If you are managing the PRIMARY account contact, you will be taken to a screen like the top image shown below which will provide an overview of the current account owner profile. Near the bottom, you will see the currently associated list of additonal authorized email addresses. At the top, there will be a horizontal navigation bar that includes an option for "Edit Details". Clicking on that option in the horizontal navigation bar will take you to a screen that allows you to edit the PRIMARY account owner details. If you are looking to manage the details of a secondary account contact and have clicked on the "manage contacts" option in step 3, you will be taken to a screen like that shown on the bottom. To the left of each existing contact on your account there will be a gear image. Clicking on the gear image will bring up a menu that will contain an option for "edit contact". Clicking on edit contact will bring you to another screen that will allow you to edit the details for that contact on your account.
![]()
5. Below are the screens you will be presented with to edit the contact information for the PRIMARY account owner (the top image) and for secondary account contacts (the bottom image). Arrows have been added to each screenshot to call out the specific field that needs to be changed to add an authorized email address to a specific contact.
![]()
![]()
6. Once the needed changes have been made to the contacts profile, click on submit to save the changes.